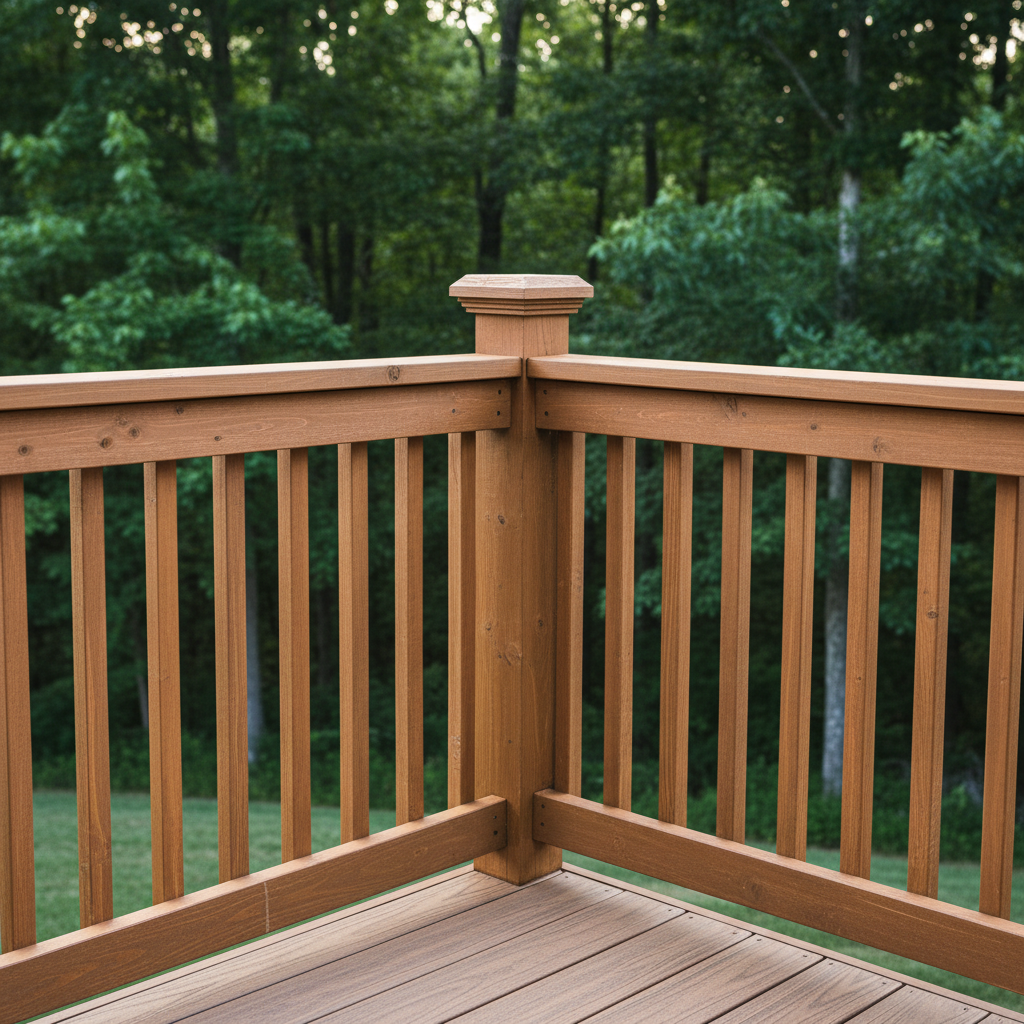
You're staring at your deck, right? Maybe it's seen better days, or perhaps you just finished framing it yourself. Now comes the big decision: railings. The question always pops up, doesn't it? "Can I tackle this myself, or is it time to call in someone like us at Alpha Decking?"
Look, I totally get it. Saving a few bucks feels great, especially with how much materials cost these days. And honestly, some parts of building a deck? You can absolutely handle those on your own. But railings? They're not just there to look pretty. They're a safety thing, pure and simple. If someone leans on it, falls against it, or if a kid decides to climb up, that railing better hold. So, let's chat about what's involved and where you might decide to wave the white flag.
Before You Even Think About Buying a Single Post
First things first, you've got to know your local codes. Knoxville, just like any city, has specific rules for deck railings. We're talking about stuff like height – usually 36 inches for homes, but sometimes 42 inches if it's a commercial spot or a really high deck. Then there's the space between balusters or pickets; it can't be more than 4 inches. That's so a 4-inch sphere (picture a baby's head) can't squeeze through. This isn't just some random rule, by the way; it's there to stop accidents. You'll also need to check on the load requirements – basically, how much force the railing has to take. This is where a lot of DIYers get stuck, especially when it comes to how those posts are actually anchored.
What kind of railing are you leaning towards? Wood? Composite? Maybe metal balusters with a nice wood top rail? Or cable railings? Each one has its own little installation quirks. Wood is pretty forgiving, but you'll need to be good with a saw and a level. Composite often comes in kits, which can make things easier, but the hardware is usually very specific. Cable railings look super sleek, but they're probably the trickiest to get tensioned just right and looking uniform. If you're going with pressure-treated lumber, make sure it's rated for ground contact if any part will touch the dirt or be buried. For railings, that's usually not the case, but it's always good info to have.
The Install: DIY vs. Calling a Pro
Alright, so you've got your codes figured out, and you've picked your material. Now for the actual work. This is where I see people either nail it or call us in a total panic.
- Measuring and Layout: This part is absolutely crucial. If your posts aren't spaced correctly, or if your deck isn't perfectly square (and let's be honest, most aren't), you're in for a headache. You'll need to snap chalk lines, use a reliable tape measure, and double-check everything. A small mistake here can throw off your entire railing system.
- Post Attachment: This is the single most important thing for safety. Posts need to be incredibly secure. Bolting them to the rim joist is common, but it has to be done right with the correct hardware – think carriage bolts, washers, and nuts, not just lag screws. Sometimes, especially on older decks or if the framing isn't super strong, you might need to add some blocking inside the rim joist. If your posts wiggle even a little bit after you install them, it's a no-go. This is often where I tell homeowners to really think about hiring a pro. We know the right fasteners, the right methods, and exactly how to reinforce things so they pass inspection and, more importantly, keep people safe.
- Cutting and Assembly: If you're comfortable with a miter saw and a drill, cutting balusters and rails isn't too bad. Just remember the old "measure twice, cut once" rule. For pre-fab kits, it's more about putting pieces together than a lot of cutting. Keep your levels handy. You want those top rails perfectly level, and your balusters straight up and down.
- Stairs: Railings on stairs are a whole different animal. The angle has to be spot-on, and getting the balusters evenly spaced and plumb while following that angle? That's definitely advanced DIY territory. Many folks try it, get frustrated, and then we come in to clean it up. If you've got stairs, especially a long run or a tricky turn, that's a pretty strong sign to bring in a professional.
For a small, simple, straight run of railing on a low-level deck, if you're handy, have the right tools, and you're super careful about following code and instructions, you might just pull it off. But if your deck is high off the ground, has multiple levels, or involves stairs, that's usually when it's time to call in the pros. We've seen too many wobbly railings that were "almost" right, and "almost" just isn't good enough when safety is on the line.
After It's All Done
So, your railings are up, or maybe we installed them for you. What happens next? Regular maintenance is crucial. For wood railings, that means cleaning, staining, or sealing every couple of years, depending on how much sun and rain they get. Here in Knoxville, with our humid summers and those occasional ice storms, wood really takes a beating. Keep an eye out for any loose fasteners, especially where the posts connect to the deck. Check for rot, splinters, or anything that looks like it's falling apart. For composite or metal railings, maintenance is much easier, usually just a good wash down. But still, check those connections every so often.
Give your railings a good shake test every now and then. If anything feels loose, look into it right away. Don't put it off. A small problem can quickly turn into a big safety hazard. Your deck railing is there to protect, so give it the respect it deserves.